Published May 29, 2023

Jose Osornio
Principal Solutions Architect

As part of our development workflow, it is common to use a sandbox environment such as a Virtual Machine or Container to test and run applications. These environments are typically running on our local development machines. However, on certain occasions, it may become necessary to showcase our work outside of this environment while still in the development or prototype phase.
While deploying our projects on a Cloud service is an option, this can prove to be a cumbersome process and come with a cost. Alternatively, a service known as ngrok provides a reliable solution for exposing local projects to the public internet. This method is both swift and simple, and the best part is that it is completely free!
ngrok Secure Tunnels work by using a locally installed ngrok agent to establish a connection to the ngrok service. Once the connection is established, you get a public endpoint that you or others can use to access your local service.
When a user hits the public ngrok endpoint, the ngrok edge figures out where to route the request to and forwards it over an encrypted connection to the locally running ngrok agent. From there, the local ngrok agent takes care of sending traffic to your upstream service. The communication between the ngrok edge and agent is secure and encrypted. Traffic from the user to the ngrok edge, and from the ngrok agent to the upstream service rely on the protocol you are using for encryption.
These are the steps that I followed to make the my local server, which was running on port 80, accessible to the public internet:
After successfully signing up for a free ngrok account, proceed to download and install the ngrok application from https://ngrok.com/download. It’s worth noting that ngrok is compatible with multiple operating systems including Mac OS, Windows, Docker, and others. In my case, the local server was running on Ubuntu Linux.
Extract the downloaded file according to your OS. In my case, I used this command:
‘sudo tar xvzf ~/Downloads/ngrok-v3-stable-linux-amd64.tgz -C /usr/local/bin’
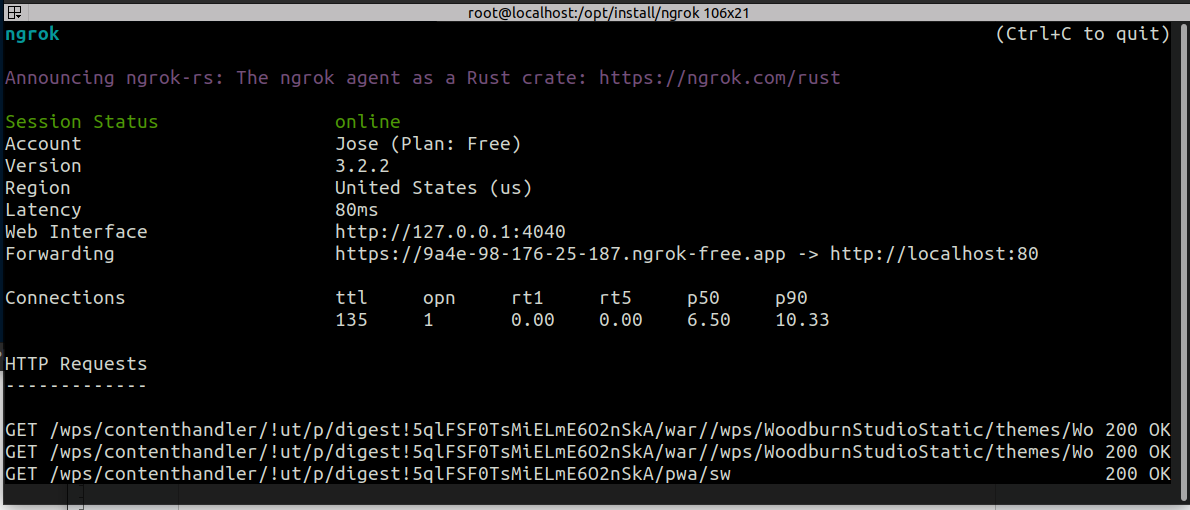
Finally, start your tunnel forwarding to your local port 80 with this command:
‘ngrok http 80’

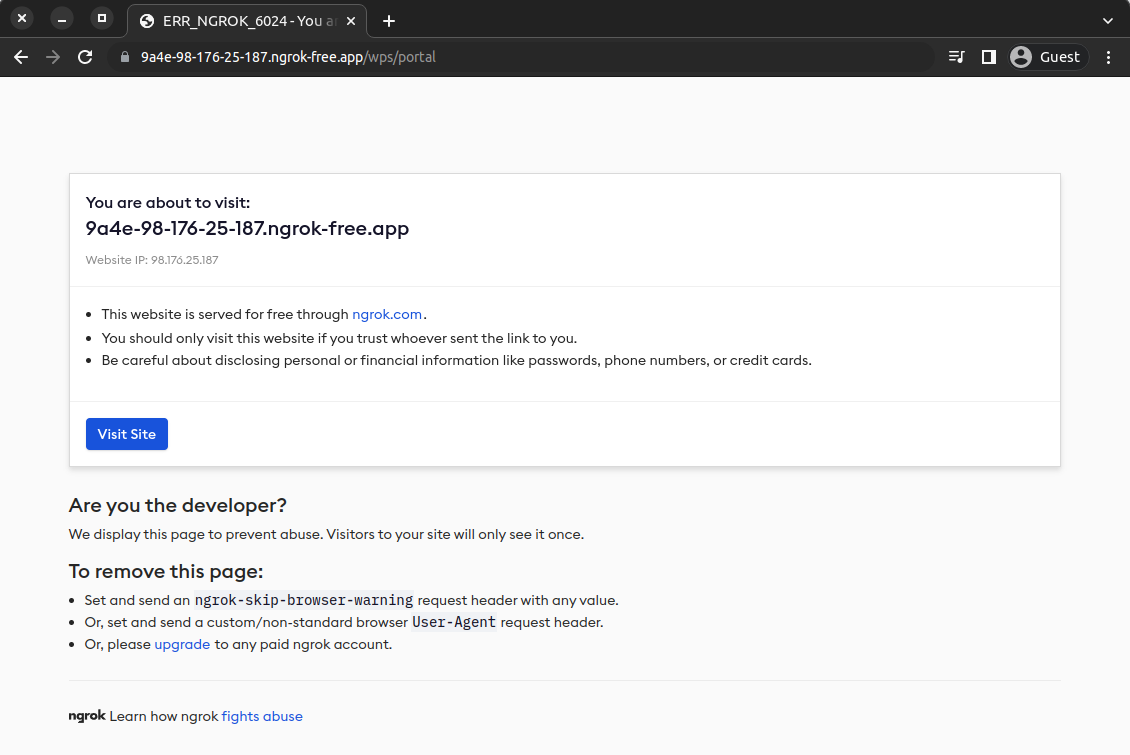
You are now all set to access your application from the public internet by using the Forwarding URL provided by ngrok. Once you access the URL, a disclaimer indicating that the site is being served by ngrok will be displayed.

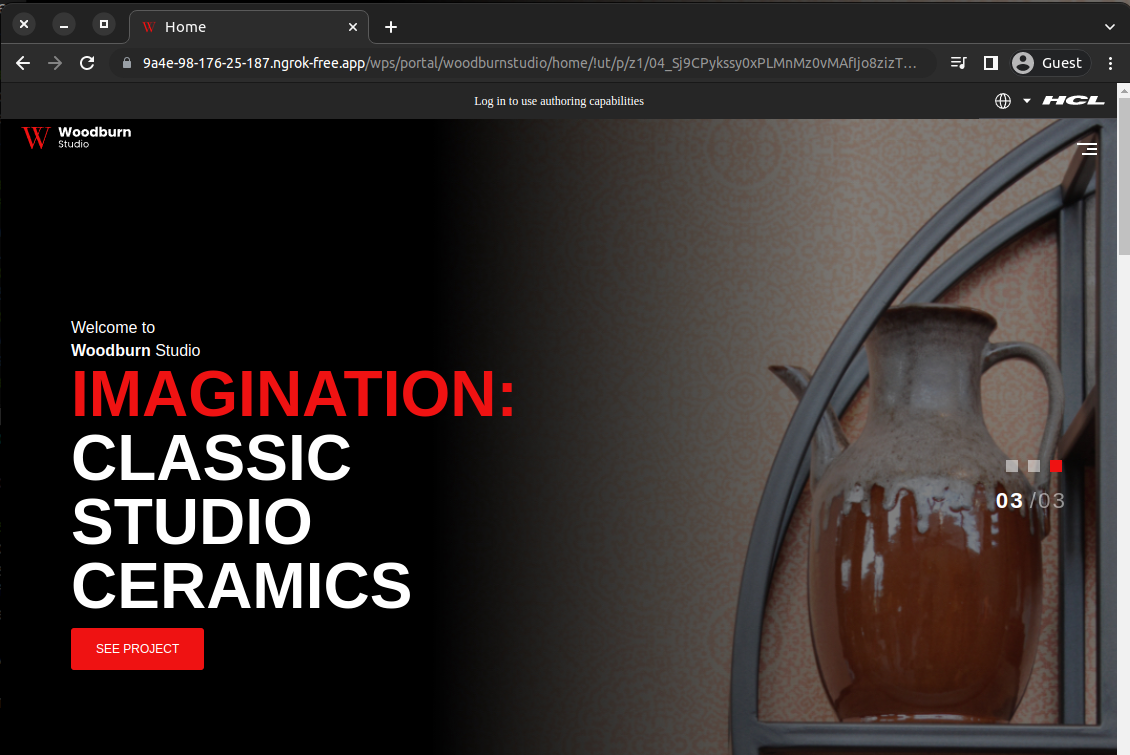
But, don’t worry about it, just click on the “Visit Site” button and you’ll be able to see your local application.

In conclusion, ngrok is a reliable tool for showcasing local projects to the public internet during the development or prototype phase. It offers a secure and encrypted connection between the ngrok edge and agent and is compatible with various operating systems. By following the simple steps outlined in this article, developers can quickly and easily expose their local projects to the public internet using ngrok. With ngrok, there is no need to go through the cumbersome process of deploying projects on a cloud service. Plus, the best part is that it is completely free!